So contrary to most of my blog posts my most favorite project to create is a Mini Album. I do love me some mini albums. I have such a blast constructing them and then get caught up in the decorating. Anywho, Kathryn from Life on the Scrap Beach held a Ustream class where she created an Album-in-a-box. Here is the link to part 1: http://www.ustream.tv/recorded/22378241 (part 1-4 listed below). I thought this was such a great idea that I had to make one. This box is going to a co-worker who makes some amazing homemade preserves. I hope she likes it. It is constructed with chipboard (I used a cereal box) and paper bags (I used the Micahel's Celebrate It bags).
WARNING: There is an extreme amount of photos contained in this blog.
This is the top of box. I used a host of Recollections products and some items in my stash.


When you remove the lid, this is the first page. The album itself is attached to the collapsable wall on the left. The front of tag 1 is inside the first paper bag.


Page two and three and the back of tag 1 in the first paper bag.


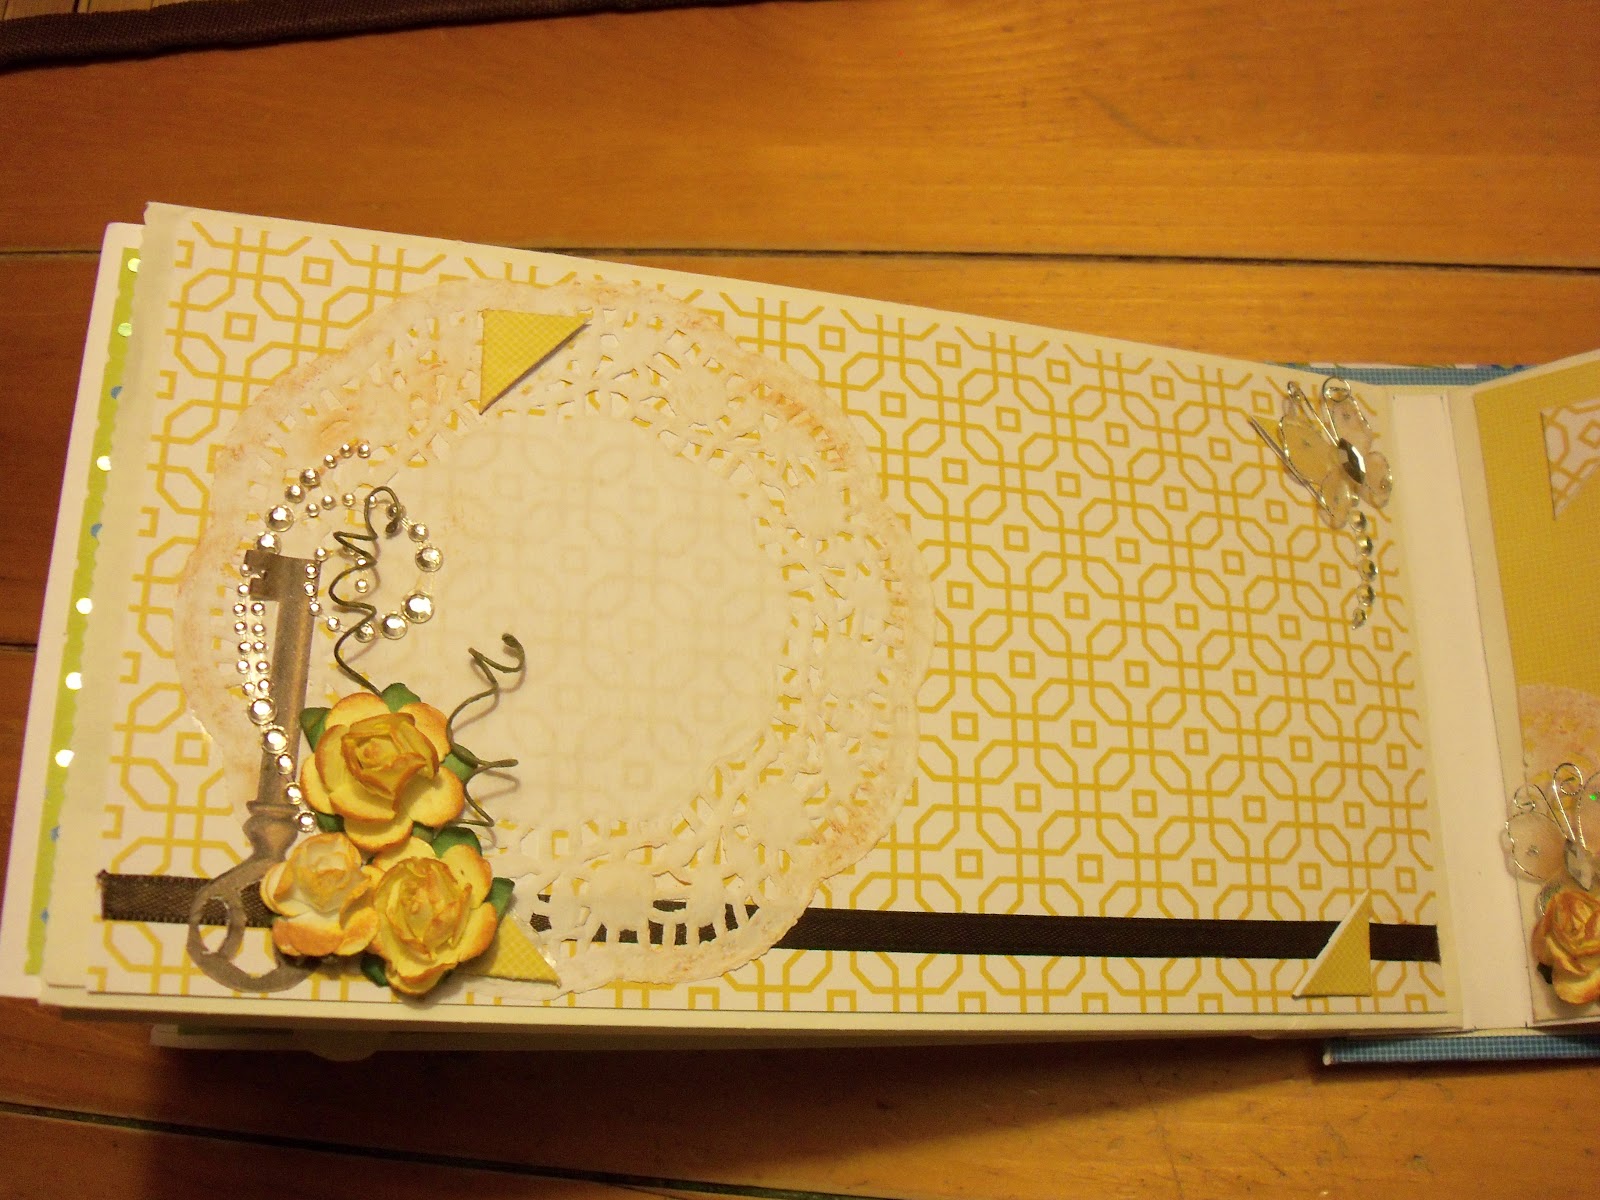
Page four and five with tag 2 and an unclose of the floral embellishment. By far my favorite pages in this album and not just because they are yellow. Okay maybe the yellow color had a lot to do with it.


Page six and seven with tag 3. I used velum as a matt for the photo and added photo corners.

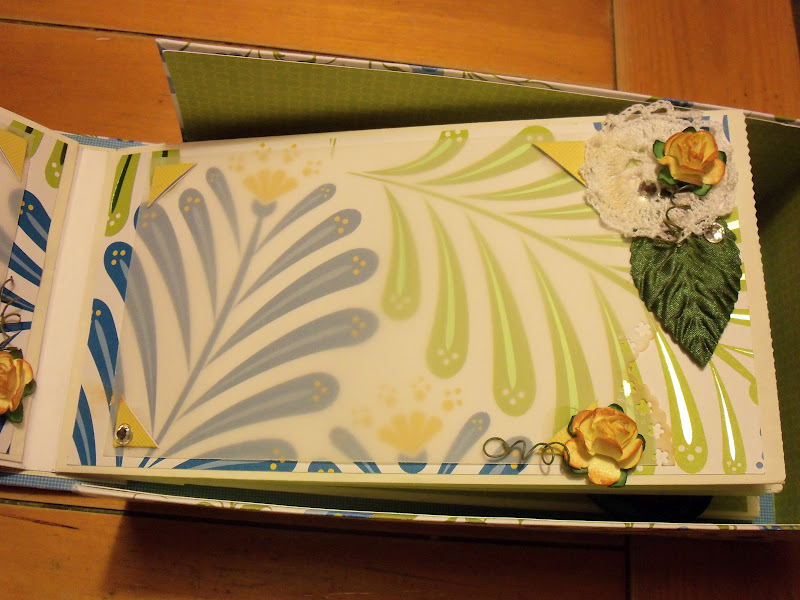


Page eight and nine with tag. I chose to keep this one fairly simple; well simpler than the rest of the album. I think the blues on the tags are a great masculine setting.


Page ten and eleven with tag and a few close ups. The tags are the same on both sides throughout the album except for the


And finally the last page of the album, page twelve with tag. The tag above and the one below are the front and back in the last paper bag.


A lot of pictures I know but I do like how it came out. I wasn't sure about it because I normally wouldn't have used this style of paper but my recipient loves greens and blues and when I saw the paper I thought it was perfect for her.
Thank you all so much for stopping in and taking a look at what I have been up to. I hope it inspires you to create something wonderful.
So, until next text time everybody...
Kelli
What I used..
~DCWV Green Tea 12x12 stack
~Recollections Crocheted flowers,
~White Card Stock
~Michael's Celebrate It white paper bags
~Studio G brown and tan pigment ink
~Autumn Leaves Journaling Stamps
~Martha Stewart Crocheted butterflies
~Studio G white adhesive buttons
~Recollections Paper: Keys
~Recollections Swirl bling
~Michael's Celebrate It flower leaves
~Studio G Sentiment Stamps
~Hampton Art Sentiment Stamps
~MME Stella Rose Stamp Set
~Twinery Blue twine
~Recollections fabric buttons
~Mulberry Roses
~Recollections Blue Acryllic Flower (shown on cover)
~Offray ribbon
Album-in-a-box tutorial (by Kathryn Scraps [thescrapbeach] on Ustream)
Part 1: http://www.ustream.tv/recorded/22378241
Part 2: http://www.ustream.tv/recorded/22378750
Part 3: http://www.ustream.tv/recorded/22380498
Part 4: http://www.ustream.tv/recorded/22381385


6 comments:
WOW it is a fantastic idea and especially love the way it collapses-- you have embellished it to perfection too
PS : Please do turn off word verification. Blogger is asking for double word verification and it is getting a bit crazy typing it all
Cheers
Sonia
cardsandschoolprojects.blogspot.com
Sis, you knocked this outta the park! You did an awesome job on this~ Kenya
Great project. I'm sure it was a lot of fun to create. I enjoyed using that paper stack; it's so pretty and glossy! TFS
Georgeous!!!
Awesome job, love, love this mini,
I have to try this
Oh wow!! This is an awesome mini..luv the collapsable wall idea.. U do gr8 work..
Post a Comment