I finished one the four Minis I have been working on simultaneously. This is the second Mini for the Mini Album Monday that I am excited to show you.
You know it doesn't take a lot of money to make beautiful, simple, interactive albums to show off your memories. All I used were some 6x9 envelopes (the cheap ones) from Staples and some $1/$1.50 paper and flowers from Michaels. Lace was either given to me or found at the thrift store for pennies. All in all, with the embellies, paper, and envies I probably spent $15. And with that money I can make 3 of these minis. LOVE IT!!! A great way to stretch a buck!
Okay, now here is where I inform you, WARNING - a boatload of pics are about to be seen.
And there you have it. Super sweet, super simple, and super quick. All the die cut pieces I fussy cutted from the paper collection and pasted them to card stock. And each page has photo corners to hold all the pic so should i give this away, the recipient can easily slip their photos in without having to purchase adhesive.
I Thank you all for stopping by I appreciate you all SOOOO MUCH!!
I have a feeling a few giveaways may be coming up so BOLO. Oh, and stay tuned for the the Next Mini Album Monday!
Welcome!!! So my planned 1st Mini Album Monday has turned into a Mini Album Wednesday for this month. Hubs and I recently took in a foster child and it has been a rough couple of days. Plus, being super slammed at work led to no free time for other things.
Anywho, the mini that I have to share with you today is one that I am truly proud of. I have scoured the net and YouTube looking for a mini like this and I have found nothing. If any of you know of one please let me know. Today's Mini is a Paper Bag Baby Bottle mini Album. The tags are shaped as baby bottle and can hold a 4x6 photo. I am so so proud of this album!!! I love the way it turned out and I have plans to make more. It is so super quick and easy and is so much fun to make.
Let me show you what I did. ** WARNING - there are LOTS of pictures!**
This is the cover of the album. A cover photo can tuck behind the scroll. The scroll itself came from the Theresa Collins Sophisticated Cricut Cartridge .
The spine of the album
First pages and a sample of the tags that are present throughout the album.
Each paper bag hold tags that look like this one just with different paper.
Next two pages
Accordion style fold out photo page
Next two pages: the green page is a double slider page. Tab on the top pulls out for two photos and the tab on the side pulls out for two photos.
Small pocket to hold two tags from the paper collection.
Next two pages. The only thing with the second page is that I with I had gold photo corners that had white tabs instead of black. But with the photo in this spot you can't see the black.
Next two pages with an accordion style fold out photo mat and white photo corners.
I really wanted to make a baby album that looks just like a bottle and could stand and be displayed opposed to laying down. I used a total of 6 bags and a chipboard back cover. I will post a video on the album here and on YouTube so you can see it in real time (well sort of real time).
Anywho, here it is! The first Mini Album Monday (though it is Wednesday) project.
Thank You all so much for stopping by and I pray you enjoyed the latest creation and first mini album of the year. I pray you all are having a great day and I will see you all in the next one. Bye!!
What I used...
~Cricut Schoolbook Cartridge: Tags, Nipples, Pull Tabs
~Cricut Theresa Collins Sophisticated Cartridge: Flourishes
~Recollections Card Stock
~DCWV Paper Stack - The Preppy Princess
~Offray ribbon
~Skeleton leaves
~Buttons
~Lace
~Flat back pearls
~Mulberry roses
~Recollections flowers
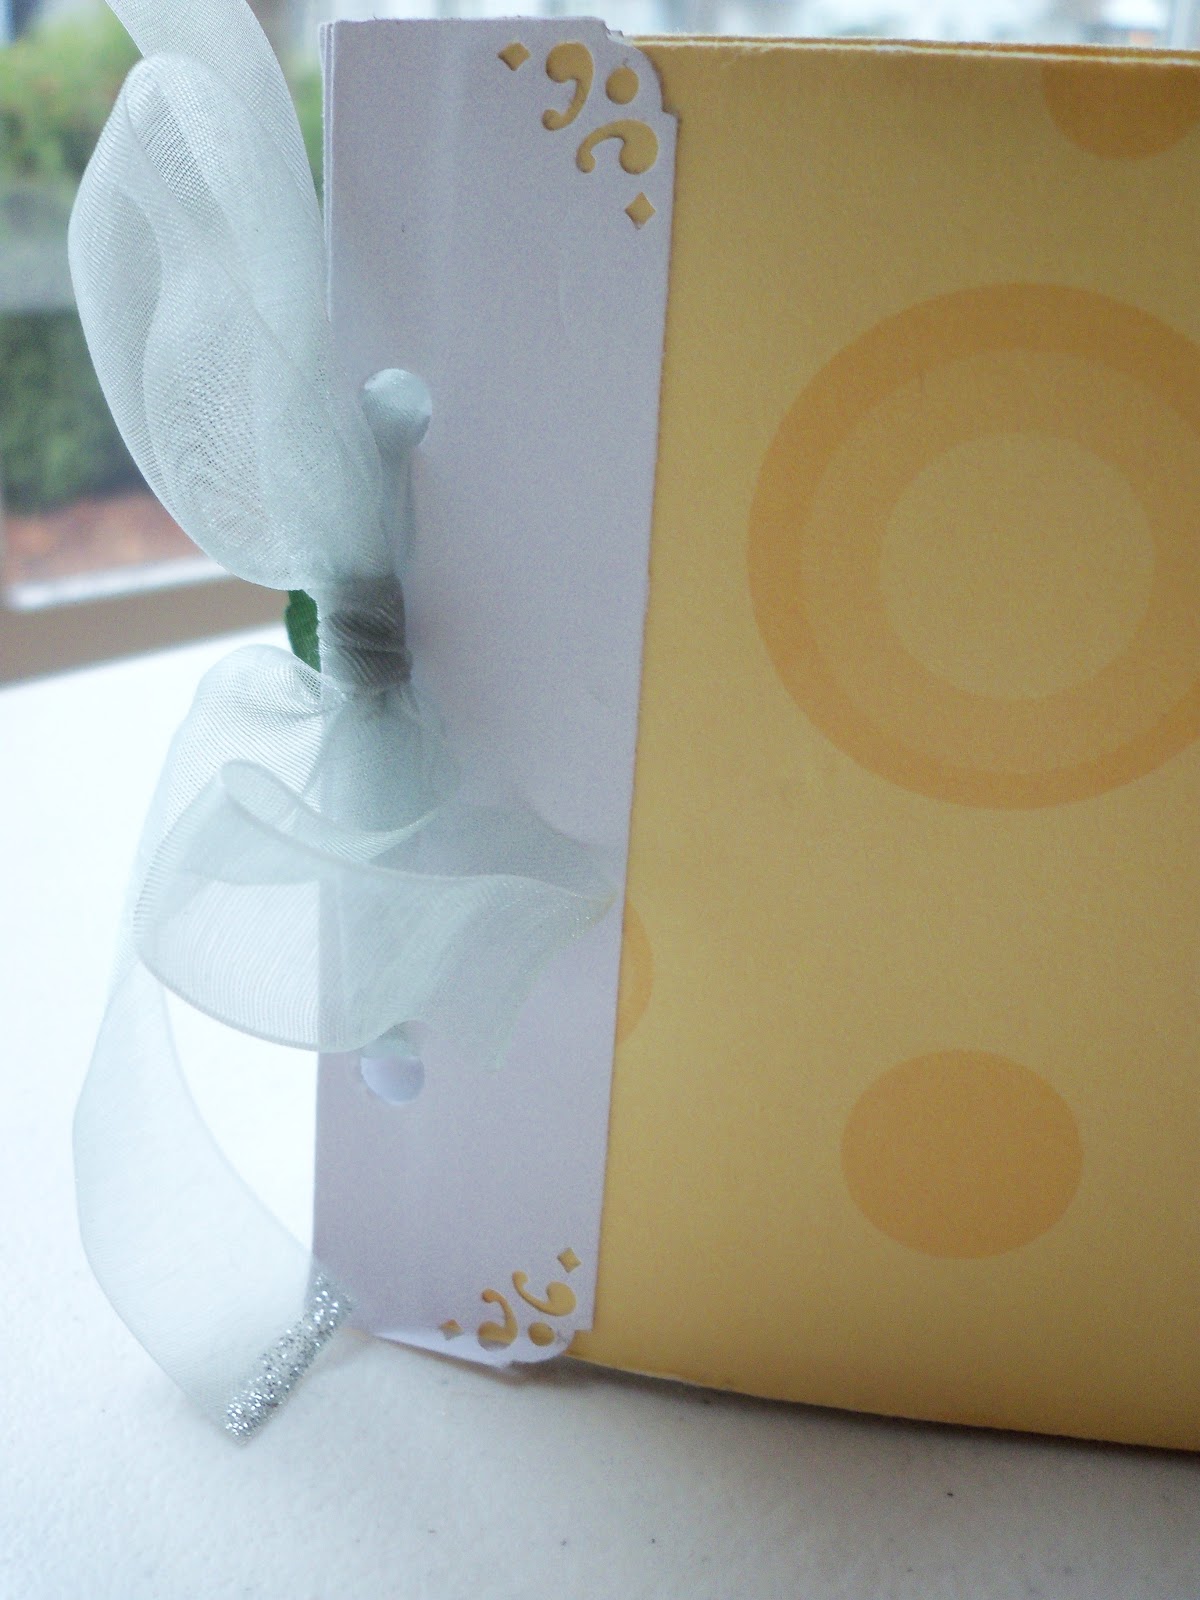
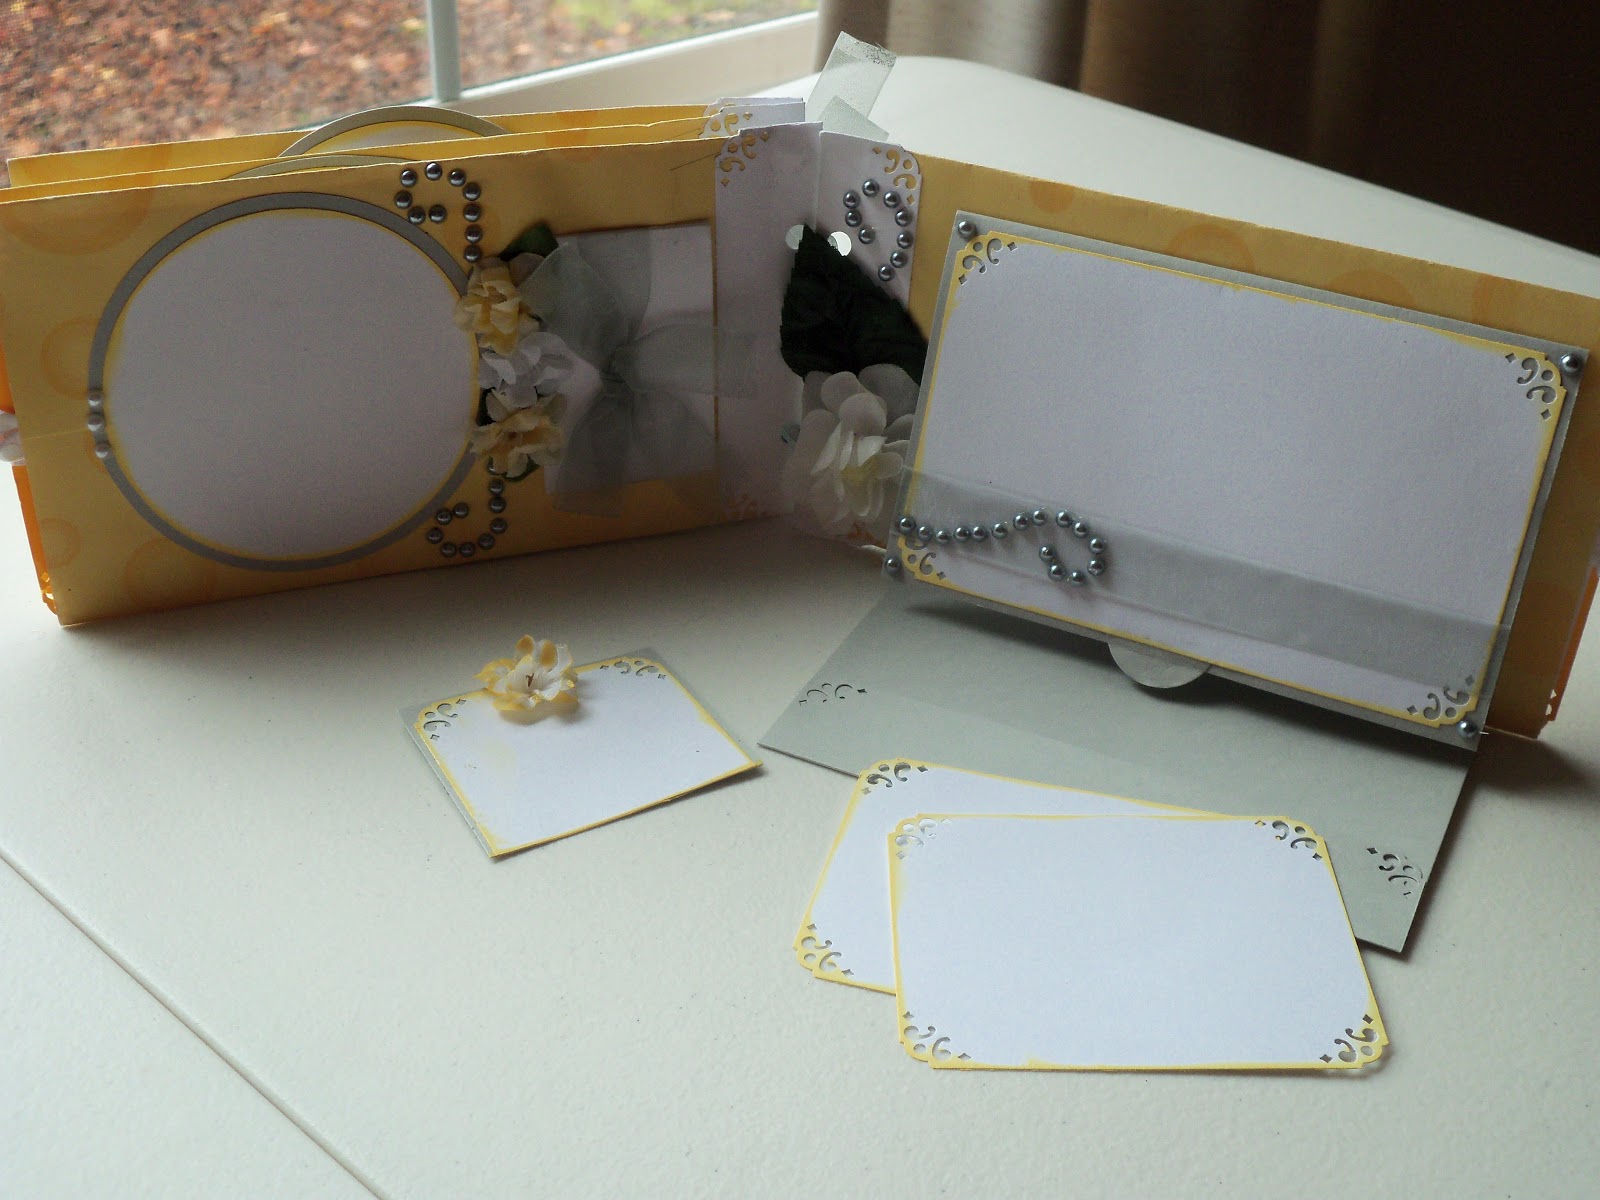
So this post is a way to recycle the old into something new. While Hubs and I were living in PA we were involved with craft shows/bazzars. One item that I created to sell were Envelope cards that can be placed on gifts, used for money cards, etc. Well I made tons of them and most of them sold but I still have a dozen or so left that did not. So instead of throwing them away I chose to make a mini album out of them. These minis can easily hold full 3x5 photos. This is one of my favorite albums mostly because it is my favorite color, yellow. Here it is...
I used a sheer gray ribbon for the binding and then used Deco Art Twinkles on the ends to stop the fraying.
Pages one and two and a sample of what all the tags throughout the album look like.
A tag tucked behind the fold out photomat.
Pages three /\ and four \/
Tags for pages 3 and 4.
Pages five /\ and six \/
Tag from page 5 and a fold out photomat with a pocket for tags.
So here is my work in progress. I did make a video of this album. You can see it here:
Well everyone, that is all for now. You know I am so grateful to be able to share these projects with you all and I am so thankful for each one of you!! Thank you all for watching and I will see you in the next one...
Wow Day 6 and I am on a roll and getting into the swing of things. I think I am really liking my Day 6 card the most. I love swirls/flourish and flowers and bling/glitter together in any combination or arrangement. So here is my card.
The paper had the design on it originally and what I did was to add the sheer ivory and maroon ribbon. The I stamped the gift box in brown ink onto tan card stock, adhered two layers of foam tape on the back and placed the image over the knot. I added the pearls one by one in the swirl pattern; with a gold glitter pen I outlined some of the flourish and drew on the gold corners, then I added the silk flowers.
Lastly, I colored in the holly on the image added some more gold accents to the present. All in all I am very happy with the end result.
What I used:
-Champagne flat back pearls
-Ivory and Maroon sheer ribbon
-Gold glitter pen
-Silk flowers
-Studio G image
-Studio G brown ink
Thanks for stopping by for Day 6 and I will see you back again tomorrow on Day 7. Have a great day!!!






 Posts
Posts


