Showing posts with label Recollections cardstock. Show all posts

Monday, July 22, 2013

Practical Scrapper Ten Things Project - Letter Stickers

Hi Everyone,

Just a quick post to share with you a Design Team Project for Practical Scrappers.  The Challenge was to be creative while using letter stickers.  Well, I am back on my Christmas card countdown and this card was quick and simple and packed with color.


I used the letter stickers to create a fish tail banner and then used that as the main focal image for the front of the card.  Sometimes simple is the way to go and I think it fits using the banner as the focus.  I added some glitter glue instead of ribbon to help draw your eye to the center.

Its a clean and simple card but I really like it!  Not all cards need to be so elaborate.  These clean and simple cards are great for those you know are going to most likely toss the Christmas cards at the end of the season or for those you know are just not going to appreciate a hand made card as much as someone else.  Sadly I think we all know sometime that matches this description.

Anywho, there you have it everybody.  I pray that this card brings you some inspiration.

Thank you all for stopping by and I will catch you all next time. Bye!!  :D

Kelli

What I used...
~My Minds Eye, Christmas Kitsch collection
~Fiskars Scalloped Daisy punch
~Studio G pink glitter glue
~Recollections white card stock
~Jolee's Boutique by EK Success, Pearl and Gem dimensional stickers

Tuesday, May 14, 2013

Tag Tag Mini Album - Mini Album Monday #3

Hi Everybody,

So I have been on this Christmas plan making 5 cards a month until December so that I have 60 Christmas cards to send out onetime without rushing to get them done.  So with Christmas on the brain I have also been thinking about gifts and mini albums.  I had the idea to make a mini that looked like a tag that would hold tags for journaling and photos.  And since I already had my Christmas papers out I chose to go with the it.

This album was made using Cereal Box chipboard for the front and back covers and 5 sheets of 11x17 white card stock (which I happen to have on hand) for the tag pages, inserts, and pulls. (You could also use 8.5x11 card stock; ask me for instructions)  I took the 11x17 card stock, scored and folded it at 7"and then flipped it around and folded back the last 3" to create the bottom border pocket.  Then I cut the whole thing at 6 1/2" wide. the remaining card stock I user for the tag insert and the pulls.

Here is my tag tag mini album.

*** Lots of photos coming***


 I had such a great time making this album.  My Christmas colors for 2012 were blue and white and i wanted to keep the album with those colors only but then I came across that red and the album insisted that I use it. So my hands were tied and you know what, the album was right!  I love the pop of red in this album.

The tags and the pages will hold photo mats that will fit a full 4x6 photo.  I think it turned our great.  Thank you all for stopping by and I will see you next time for Mini album Monday.


What I used...
~Carta Bella Paper - Merry and Bright Collection - Christmas - Chipboard Stickers
~Recollections Bright and Jolly Paper pad
~Studio G Glitter glue
~Recollections® 8.5" x 11" Value Pack Cardstock Paper - White
~Fiskars Embossing Border Punch - Scalloped Daisy
~Favorite Findings Buttons- Snowy Splendor 8/Pkg
~Staples Cover Stock Paper, 11" x 17", White
~Twinery Twine
~Studio G ink pad
~The Twinery Twine - Shore
~The Twinery Twine - Stone
~Studio 112 Flat Adhesive pearls
~Walmart floral trim
~Recollections swirl rhinestones
~Mulberry and fabric flowers

Wednesday, January 30, 2013

The 1st Mini Album Monday Paper Bag Baby Bottle

Hi Everybody.

Welcome!!!  So my planned 1st Mini Album Monday has turned into a Mini Album Wednesday for this month.  Hubs and I recently took in a foster child and it has been a rough couple of days.  Plus, being super slammed at work led to no free time for other things.

Anywho, the mini that I have to share with you  today is one that I am truly proud of.  I have scoured the net and YouTube looking for a mini like this and I have found nothing.  If any of you know of one please let me know.  Today's Mini is a Paper Bag Baby Bottle mini Album.  The tags are shaped as baby bottle and can hold a 4x6 photo.  I am so so proud of this album!!!  I love the way it turned out and I have plans to make more.  It is so super quick and easy and is so much fun to make.

Let me show you what I did.  ** WARNING - there are LOTS of pictures!**

This is the cover of the album.  A cover photo can tuck behind the scroll.  The scroll itself came from the Theresa Collins Sophisticated Cricut Cartridge .


The spine of the album

First pages and a sample of the tags that are present throughout the album.


Each paper bag hold tags that look like this one just with different paper.

Next two pages

Accordion style fold out photo page


Next two pages: the green page is a double slider page. Tab on the top pulls out for two photos and the tab on the side pulls out for two photos.

Small pocket to hold two tags from the paper collection.

Next two pages. The only thing with the second page is that I with I had gold photo corners that had white tabs instead of black. But with the photo in this spot you can't see the black.

Next two pages with an accordion style fold out photo mat and white photo corners.


Last page and back cover of album.

Watch the Video on Youtube


I really wanted to make a baby album that looks just like a bottle and could stand and be displayed opposed to laying down.  I used a total of 6 bags and a chipboard back cover. I will post a video on the album here and on YouTube so you can see it in real time (well sort of real time).

Anywho, here it is!  The first Mini Album Monday (though it is Wednesday) project.

Thank You all so much for stopping by and I pray you enjoyed the latest creation and first mini album of the year.  I pray you all are having a great day and I will see you all in the next one.  Bye!!

What I used...
~Cricut Schoolbook Cartridge: Tags, Nipples, Pull Tabs
~Cricut Theresa Collins Sophisticated Cartridge: Flourishes
~Recollections Card Stock
~DCWV Paper Stack - The Preppy Princess
~Offray ribbon
~Skeleton leaves
~Buttons
~Lace
~Flat back pearls
~Mulberry roses
~Recollections flowers

Saturday, November 24, 2012

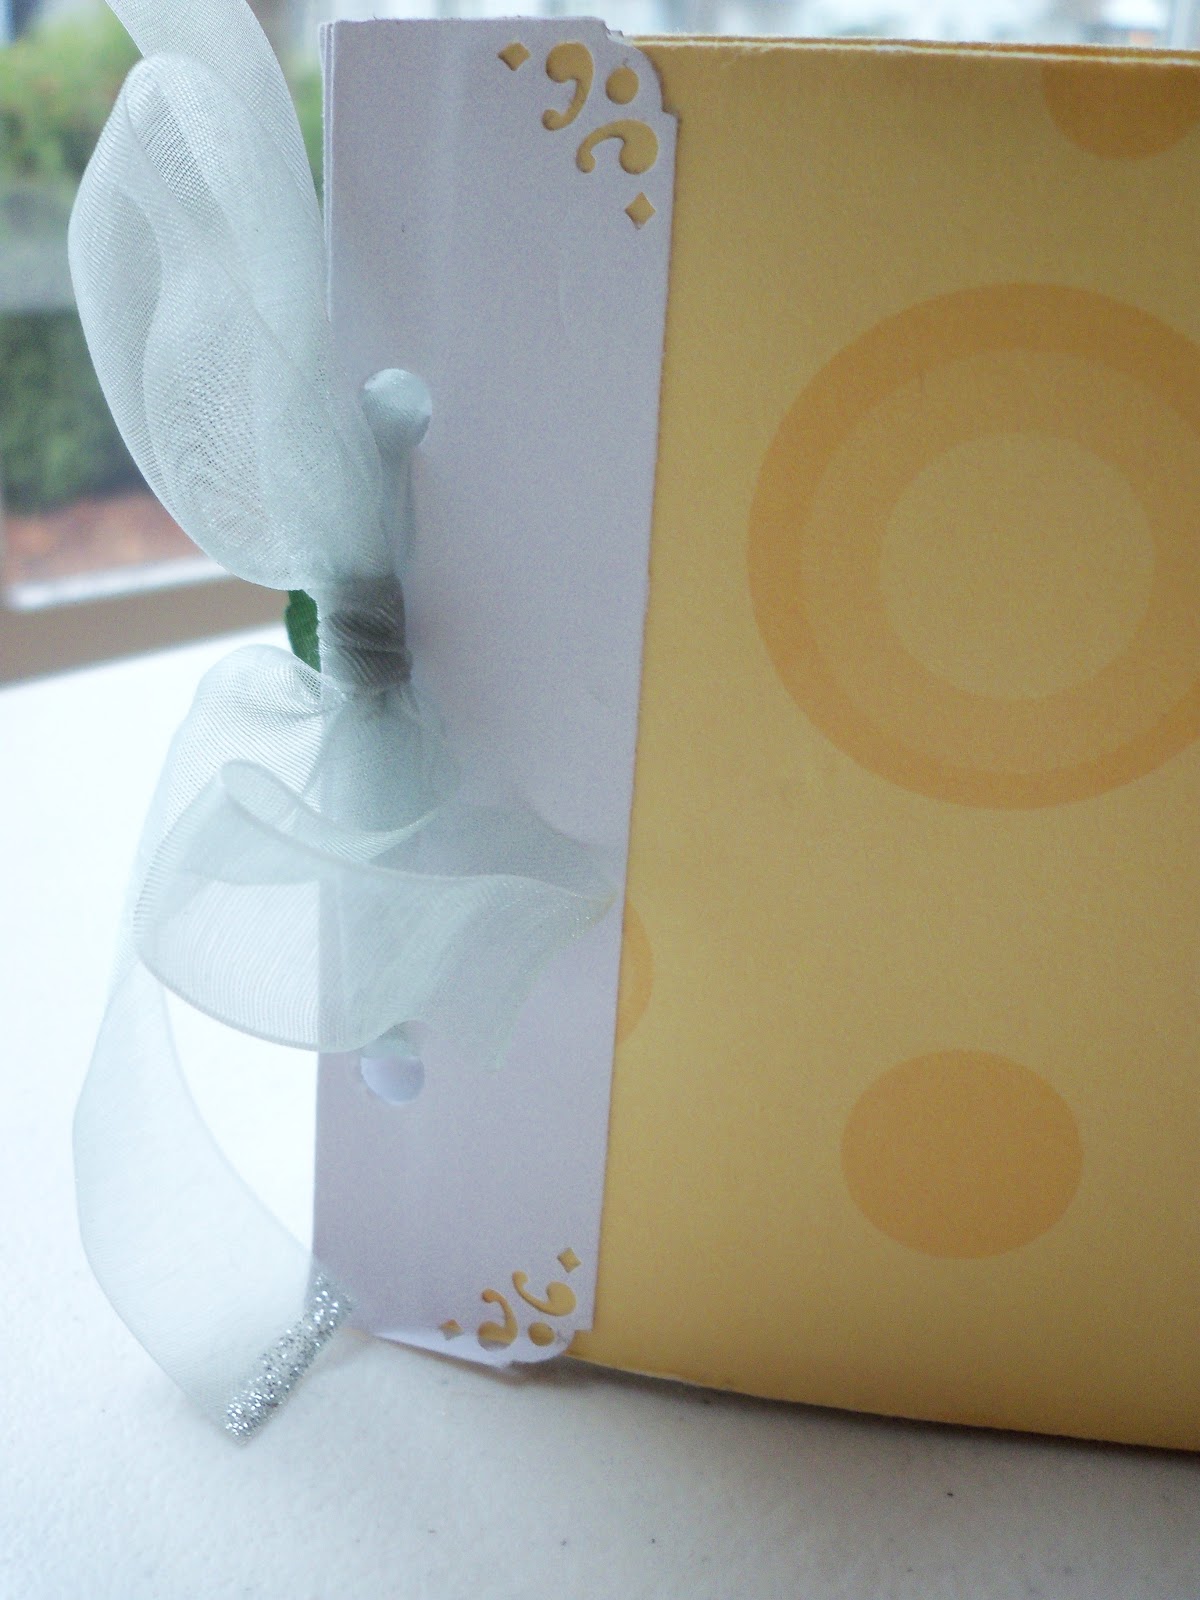
Yellow and Gray Envelope/Pocket Mini Album

Hi Everyone,

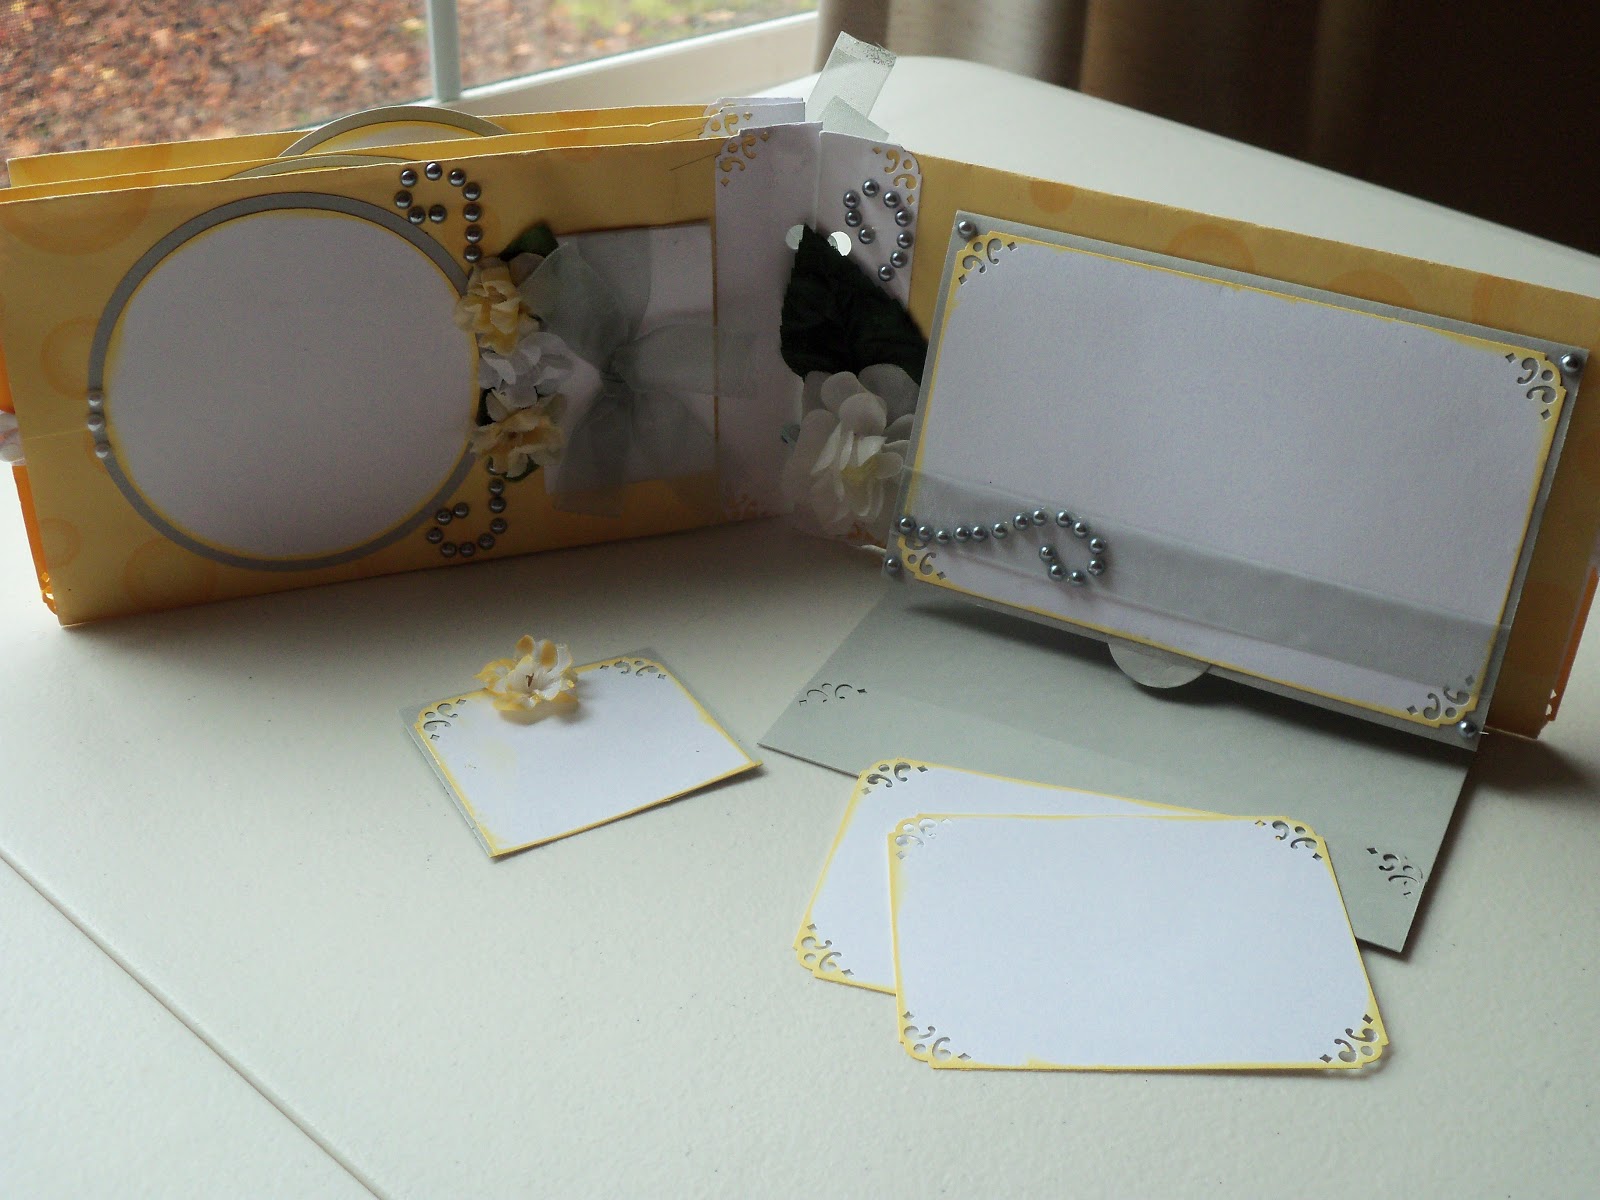
So this post is a way to recycle the old into something new.  While Hubs and I were living in PA we were involved with craft shows/bazzars.  One item that I created to sell were Envelope cards that can be placed on gifts, used for money cards, etc.  Well I made tons of them and most of them sold but I still have a dozen or so left that did not.  So instead of throwing them away I chose to make a mini album out of them.  These minis can easily hold full 3x5 photos.  This is one of my favorite albums mostly because it is my favorite color, yellow.  Here it is...


I used a sheer gray ribbon for the binding and then used Deco Art Twinkles on the ends to stop the fraying.

Pages one and two and a sample of what all the tags throughout the album look like.


A tag tucked behind the fold out photomat.


Pages three /\ and four \/

Tags for pages 3 and 4.


Pages five /\ and six \/

Tag from page 5 and a fold out photomat with a pocket for tags.

So here is my work in progress.  I did make a video of this album.  You can see it here: 


Well everyone, that is all for now.  You know I am so grateful to be able to share these projects with you all and I am so thankful for each one of you!!  Thank you all for watching and I will see you in the next one...

Kelli

What I used...
~DecoArt Twinkles
~Silk Flowers
~Flat back pearls
~Doilies
~Recollections Card Stock
~Fiskars corner punch
~Autumn Leaves journal stamps
~Sheer gray ribbon
~Colorbox pigment ink
~Offray ribbon


Thursday, July 26, 2012

Scraps of Color Scripture Swap Project

Hi Everyone,

I decided to participate in a swap over at Scraps of Color.  The challenge was to create a card using a scripture.   "Just A few words to let them know that God is always present."   After searching for an image and an image that I could pair together I chose Ephesians 3:20 and an image and sentiment from Melonheadz.  Next to passion stamps, she is one of my go to images.  So here is the card I created for the swap.

 I used DecoArt Twinkles as embellishments since the paper alone is a bit active.


To color the image I used Copic markers.  See the list of markers below.


So there you have it.  Looking back at it I could have done some other things to it.  That is one thing that I don't like.  Looking back in hind site and seeing the things that I could have done with the card.  Oh well, I still like the way it turned out, I hope the ladies that receive it like it as well.

Alright you guys, tell me what you think.

Oh,  a couple of things....1) A big Hi and Hello to the new subscribers!! Thanks so much for joining me.  2) I'm thinking of having another giveaway when we reach 50 followers.  What are your thoughts?

Ok, thanks so much for stopping by today everyone and reading through all my babble.   So, until next time..

Kelli

Copic Markers:
Skin: E13, E23, E25
Hair: E59, 110
Clothes: E09, E97, B97, B99
Bucket: N0, V91, Y23, E07, YG17, E97


Wednesday, May 30, 2012

DCWV Mariposa card

Hi Everybody, 

I hope the days have been treating you all well and that the weather has been even better.  The rain has stopped for awhile here in OR and the sunny is shining bright!!  Whoo Hoo!!  And the weather is a great way to introduce this card to you. 


I adore the Mariposa paper by DCWV.  It is so exquisite and produces the most beautiful projects.  I couldn't post this card any sooner than now because I had to wait until my Mom received it.  I didn't want to spoil it for her.

I don't usually enter challenges or giveaways but I was encouraged to enter this into a June challenge going on at Mema's Crafts and I thought to myself, "Self, why not?"  So I am entering this into the June Challenge - Just Words at Mema's Crafts.

Well that's all for right now but I will be back with another project to share with you all.

I want to thank all of my followers, new and old, for joining me as I take this creative journey!!  The future has so many wonderful things in store for us and I can't wait to share my experiences with you.  Thanks so much for stopping by and I will see you all in the next one.

Until next time..

Kelli

What I used..
~Recollections Ivory cardstock
~DCWV Mariposa matstack and cardstock matstack
~Fiskars Scalloped Daisy border punch
~The Twinery twine
~Studio G pigment ink
~DecoArt Gold Twinkles
~ Hampton Art Butterfly stamp
~Ivory Mulberry Roses
~Stampin' Up Thank You stamp from the Noteworthy set