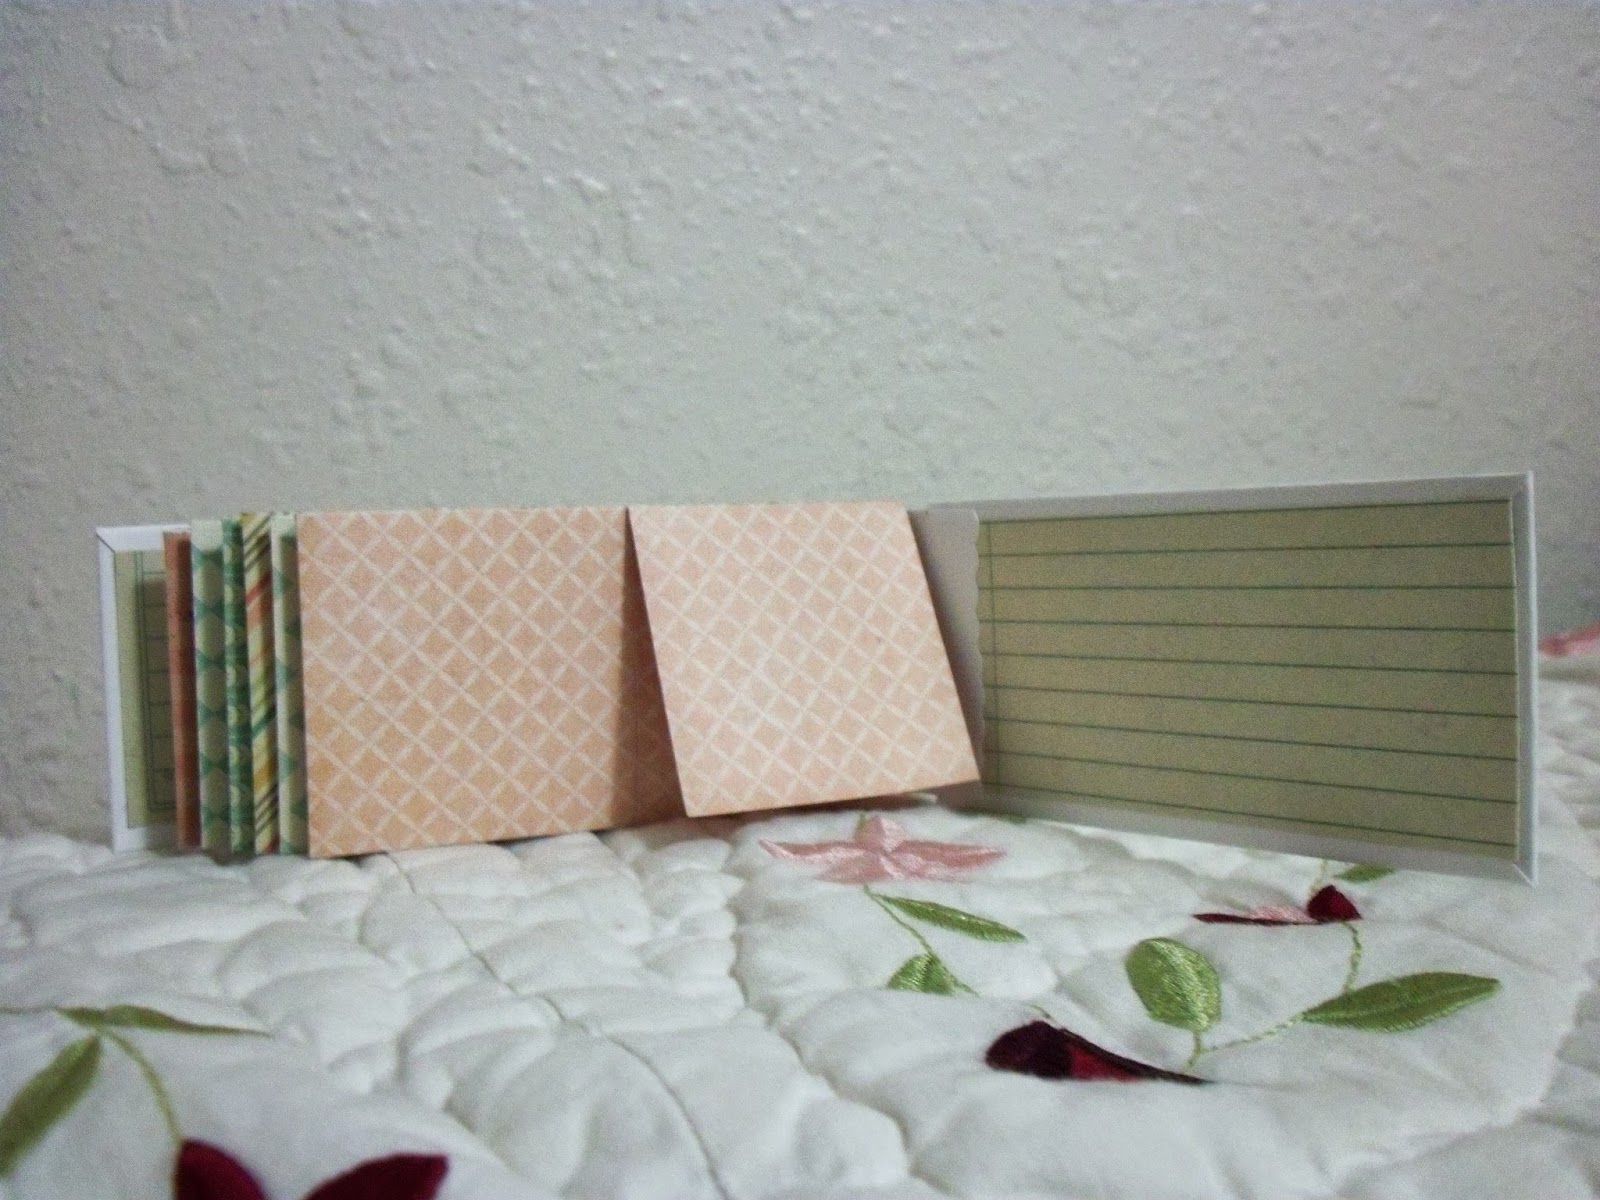
Showing posts with label My Mind's Eye. Show all posts

Wednesday, May 4, 2016

Mini Album Swaps (FB Group) Chipboard Swap

Hi Everyone,

WOW has a month gone by already?  Well I am 34 weeks along and counting down to her arrival. I have been afflicted with every illness that has gone around in the last 8 months and have been feeling miserable.  Just got finished with the flu and I am glad to see it go.  This kid will be immune to everything under the sun!!

Anywho.  I joined in a partner swap over at Mini Album Swaps Group on FB and this was a chipboard mini swap.  So today I am sharing with you the album I made for my partner.  I pray she likes it.  She didn't have anything in particular that she wanted, it was my choice, but she did same she loves pinks of all shades; so here is the mini.

Lots of Photos: You have been warned!!

Front Cover


First 2 page spread

Left

Right

Journal Spot


Right side close up

2nd page layout spread

Left

Journal Spot pull out (pearls)

Right


3rd layout spread

Left


Right


4th layout spread

Flip up photo mats with a journaling spot


Left


Right

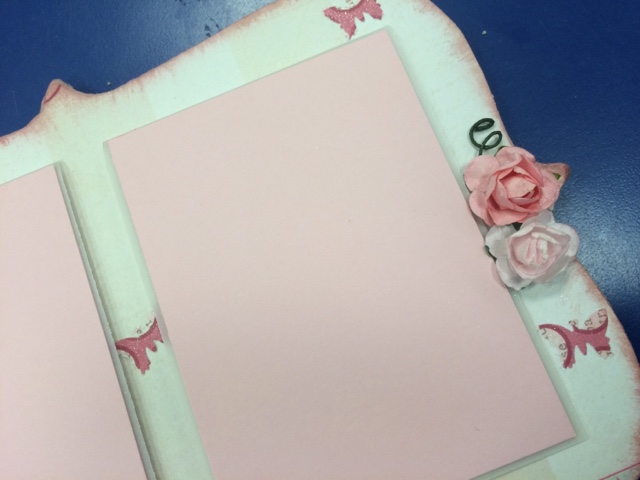
5th layout spread

Left

Right


Back cover


What I used...
~ Recollections™ Necessities Chipboard Kit, Small
My Mind's Eye™ The Best Of Lost & Found™ Paper Pad
~ Michael's $1.50 flowers
~ Trico Pink Roses
~ Clear Wink of Stella
~ Clock from Oriental Trading
~ Pink Vellum Letter Stickers
Fiskars Pop-up Punch - Butterfly
~ Miss Elizabeth's Vellum Letter Stickers
~ Flat Back Pearls from eBay
~ Lace Trim
~ Pink Washi Tape
~ Michael's $1.50 "You Are Loved" wooden stamp
~ Michael's $1.50 pink flat back pearls
~ Michael's $1.50 pink daisy flowers
Recollections™ Signature Floral Embellishments, Holly Leaves
~ Sheer Ribbon
~ Autumn Leaves Journaling Spot Stamp
Recollections® Vellum Paper Pack
~ Tiddly Inks Digital Stamp "Sow seeds of Love..."
Tim Holtz Distress Ink Pad-Victorian Velvet

Monday, June 1, 2015

SOC Project and CAS Card Series

Hi There,

So I needed to make a card for someone who is going through some things health wise and I came across Deconstructed Sketch #46 and thought that is would pair well with a sentiment/image I saw on Facebook.

Hubs and daughter gave me a gift card for Christmas and I was able to purchase some MME 6x6 packs on sale 50% off.  Yes I know this goes against using my stash but the gift card was in my stash and need to be use soon.  It works out in my mind; I'm sure someone else can see the logic.

Anywho here is the original sketch...


I turned the sketch on its side and used it that way.  I also matted everything with Kraft card stock, added a lil paper lace, some flat back pearls from the stash and a lil glossy accents on the image and I was done. I think it came out cute. 

There always seems to be sentiments or quotes that I come across and think, that would be great on a card.  So in this case I printed the scripture and backed t with cereal box chipboard.  I have done this with several quotes with the intent of using them on cards or mini albums or any other project.

And there you have it, another card in the CAS series.  I really pray these cards inspire you to create with what you have around you.

Until next time...

Kelli


What I used....

~ Scripture post found on Facebook
~ My Mind's Eye, Now and Then 6x6 pad
~ Recollections Kraft and white card stock
~ Miss Elizabeth's Adhesive Lace from the $1 store
~ Brown flat back pearls

Tuesday, April 29, 2014

Scraps of Color Dates to Remember Mini Organizer Project


Hi Everybody,

Lately I have been in a mode of finishing up projects I have started some time ago, not starting new ones - if I can help it, and getting things organized.  My Dad used to say, "Have a place for everything and everything in its place."  His words keep ringing in my head.  Maybe i'm entering into the nesting stage of my pregnancy.  

Whatever the reason, I also found out that April is also Records and Information Management Month. Which fits my "nesting" so I created a little mini to keep important dates together in one place.  Birthdays, Anniversaries, etc.


First page

Second and third pages

2nd page photo area

Page six and inside back cover

Page six photo area

Here is a quick video of the album in its entirity or watch on YouTube here.


I didn't takes pictures of each page but they are all constructed the same and created the pages of the mini using sheets from the 6x6 MME Nostalgia pad.  I folded a 6x6 page to create two pockets and a 2x2 foldout photo area on the back.  I used the lined journal paper on the front and back inside covers for more room to either write or cover with a photo.  

Then I assembled it together with hinges and decorated the front and I was done.  This was such a fun, quick, and easy mini organizer to create. And now all I have to do is fill it with important dates to remember. 

That's all for today everybody.  Thank you for spending time to see my project and I will see you all next time.

Bye

Kelli

Friday, February 28, 2014

Practical Scrapper DT Project - Birthday Cards

Hi Everybody,

I have been in such a mood to create birthday cards lately so this project was right on time.  So when I saw that the challenge for Practical Scrappers was birthdays I was in heaven!  This card is also going to be the start of my "birthday card" series.

So let me show you my card and then I'll tell you what I did.


First I started with an image.  So I chose a Birthday Party image from Melonheadz Illustrating (I love her images) and I colored her up using Copic Markers.  I had crystal glitter glue and gave her sparkly shoes, hat, and dress.

I also used the Deconstructing Jen sketch #125 but instead of using the sketch as a portrait sketch I turned it on it's side and used it as a landscape.  I am really pleased with how the card came out.  

I added some gray flat back pearls to the card just to give it that extra Umpf and then I embossed the Happy Birthday sentiment and that was all she made.  Just as a suggestion you may wanna go over to the Practical Scrappers blog and check out he other fantastic cards cards the DT created. You can never have enough birthday cards.

So this is the first Happy Birthday card.  I am not sure how many will be in this series but I'm having fun in the process.

Thank you all so much for stopping by and I will see you next time. 

Kelli


What I used...
Recollections White Card Stock
Colorbok Earthtone Cool Cardstock
MME Blue Floral Paper Pad
Offray Gray Satin ribbon
Gray Flat back pearls
Studio G iridescent glitter glue  
Copic Markers: Skin: E23, E13, E11,  Hair: E59, 110  Clothes: Y23, Y21, BG34, BG13,BG11, B99, B93
Recollection Silver Embossing Powder
Inkadinkadoo Celebration Expressions Sentiments 

Monday, September 23, 2013

Practical Scrapper Project - Doilies

Hi Everyone,

Today I am sharing with you a card for Practical Scrappers.  The challenge was to use doilies ten different.  I chose to use a doily as a pocket to hold something special for the recipient.  In this charge I chose to showcase a gift card but a check or cash or anything else you can think of can easily fit inside the pocket.  I also left some room to write a note.


I LOVE how this card came out!  When I finished it I had to take a step back and smile.  This is not a color combination that I would normally use even though i really like the combo.  I like the idea of using doilies as pockets because it keeps the card flat without adding the bulk.  Isn't it pretty!!  So I cut a doily in half and use one half on the front of the card as a background and the other on the inside of the card as a pocket.

Okay, guys, there you have it.  I encourage you to find a new way to use a doily and to get some inspiration from the ladies at Practical Scrappers.

Until next time everybody.

Later.

Kelli


What I used...
~Recollections White and gray card stock
~Studio G pigment ink
~MME, Six by Six, Darling Dear paper pad
~TLC Create sentiments
~White Doily
~Recollections Pearl swirls
~Dress It Up Cameo button
~Lindy's Stamp Gang, Scintillating Silver Glitz spray
~Ivory and Yellow mulberry roses
~The Twinery Marigold twine
~Studio G flat back adhesive pearls