Showing posts with label Mulberry Roses. Show all posts

Friday, April 12, 2013

Envelope Mini Album - Mini Album Monday #2

Hi Everybody,

I finished one the four Minis I have been working on simultaneously.  This is the second Mini for the Mini Album Monday that I am excited to show you.

You know it doesn't take a lot of money to make beautiful, simple, interactive albums to show off your memories.  All I used were some 6x9 envelopes (the cheap ones) from Staples and some $1/$1.50 paper and flowers from Michaels.  Lace was either given to me or found at the thrift store for pennies. All in all, with the embellies, paper, and envies I probably spent $15.  And with that money I can make 3 of these minis.  LOVE IT!!!  A great way to stretch a buck!

Okay, now here is where I inform you, WARNING - a boatload of pics are about to be seen.


And there you have it.  Super sweet, super simple, and super quick. All the die cut pieces I fussy cutted from the paper collection and pasted them to card stock.  And each page has photo corners to hold all the pic so should i give this away, the recipient can easily slip their photos in without having to purchase adhesive.

I  Thank you all for stopping by I appreciate you all SOOOO MUCH!!

I have a feeling a few giveaways may be coming up so BOLO.  Oh, and stay tuned for the the Next Mini Album Monday!

Until Later..

Kelli

Wednesday, January 30, 2013

The 1st Mini Album Monday Paper Bag Baby Bottle

Hi Everybody.

Welcome!!!  So my planned 1st Mini Album Monday has turned into a Mini Album Wednesday for this month.  Hubs and I recently took in a foster child and it has been a rough couple of days.  Plus, being super slammed at work led to no free time for other things.

Anywho, the mini that I have to share with you  today is one that I am truly proud of.  I have scoured the net and YouTube looking for a mini like this and I have found nothing.  If any of you know of one please let me know.  Today's Mini is a Paper Bag Baby Bottle mini Album.  The tags are shaped as baby bottle and can hold a 4x6 photo.  I am so so proud of this album!!!  I love the way it turned out and I have plans to make more.  It is so super quick and easy and is so much fun to make.

Let me show you what I did.  ** WARNING - there are LOTS of pictures!**

This is the cover of the album.  A cover photo can tuck behind the scroll.  The scroll itself came from the Theresa Collins Sophisticated Cricut Cartridge .


The spine of the album

First pages and a sample of the tags that are present throughout the album.


Each paper bag hold tags that look like this one just with different paper.

Next two pages

Accordion style fold out photo page


Next two pages: the green page is a double slider page. Tab on the top pulls out for two photos and the tab on the side pulls out for two photos.

Small pocket to hold two tags from the paper collection.

Next two pages. The only thing with the second page is that I with I had gold photo corners that had white tabs instead of black. But with the photo in this spot you can't see the black.

Next two pages with an accordion style fold out photo mat and white photo corners.


Last page and back cover of album.

Watch the Video on Youtube


I really wanted to make a baby album that looks just like a bottle and could stand and be displayed opposed to laying down.  I used a total of 6 bags and a chipboard back cover. I will post a video on the album here and on YouTube so you can see it in real time (well sort of real time).

Anywho, here it is!  The first Mini Album Monday (though it is Wednesday) project.

Thank You all so much for stopping by and I pray you enjoyed the latest creation and first mini album of the year.  I pray you all are having a great day and I will see you all in the next one.  Bye!!

What I used...
~Cricut Schoolbook Cartridge: Tags, Nipples, Pull Tabs
~Cricut Theresa Collins Sophisticated Cartridge: Flourishes
~Recollections Card Stock
~DCWV Paper Stack - The Preppy Princess
~Offray ribbon
~Skeleton leaves
~Buttons
~Lace
~Flat back pearls
~Mulberry roses
~Recollections flowers

Wednesday, November 21, 2012

Sympathy Card

Hi Everybody

Just a quick post of a card I made for my dear Sister whose Father passed away. I pray she doesn't mind me sharing this card.  As a matter of fact I debated with myself over whether or not I should post this card but after persistent encouraging from Hubs I am posting it.  I am quite proud of this card and I adore the way it came out.  I wanted everything be just perfect for this card.  So here it is...


I am not going to say to much about the card other than a lot of love went into this card and I pray she and the family feel the love Hubs and I have for them when they look at the card.  {Sis, Hubs and I are so sorry for your Dad's passing and ya'll have been and will continue to be in our prayers}.

So here it is.  And yes, I know it has been some time since I posted but lots of life has gotten in the way and way too much drama from those around me, plus lots of helping people move - including myself.  A trip across country, a missionary journey, and rehearsals for a concert, just to name a few, have been my distraction over the last few months.  I have been working on Christmas projects and I will prayerfully be posting videos, yes videos, on these projects over the (USA) Thanksgiving Holiday 2012 and posting them on YouTube.  I will link the videos to the blogs as well. 

Alright everyone.  That's all for now.  Thank you all so much for stopping by and I will see you in the next blog.

Oh... If you have any questions about ANYTHING please let me know.

Thanks a bunch!!

Kelli

What I used...

~Recollections card stock
~DCWV Paper Collection
~Red mulberry roses 
~Cricut Schoolbook cartridge (for the circle shape)
~Sympathy Sentiment by
~Eva digital image by
~Black flatback rhinestones

Tuesday, June 12, 2012

Shoe Box Mini Album

Hi Everyone,

So contrary to most of my blog posts my most favorite project to create is a Mini Album.  I do love me some mini albums.  I have such a blast constructing them and then get caught up in the decorating.  Anywho, Kathryn from Life on the Scrap Beach held a Ustream class where she created an Album-in-a-box.  Here is the link to part 1: http://www.ustream.tv/recorded/22378241 (part 1-4 listed below).  I thought this was such a great idea that I had to make one.  This box is going to a co-worker who makes some amazing homemade preserves.  I hope she likes it.  It is constructed with chipboard (I used a cereal box) and paper bags (I used the Micahel's Celebrate It bags).

WARNING: There is an extreme amount of photos contained in this blog.

This is the top of box.  I used a host of Recollections products and some items in my stash.


When you remove the lid, this is the first page.  The album itself is attached to the collapsable wall on the left.  The front of tag 1 is inside the first paper bag.


Page two and three and the back of tag 1 in the first paper bag.


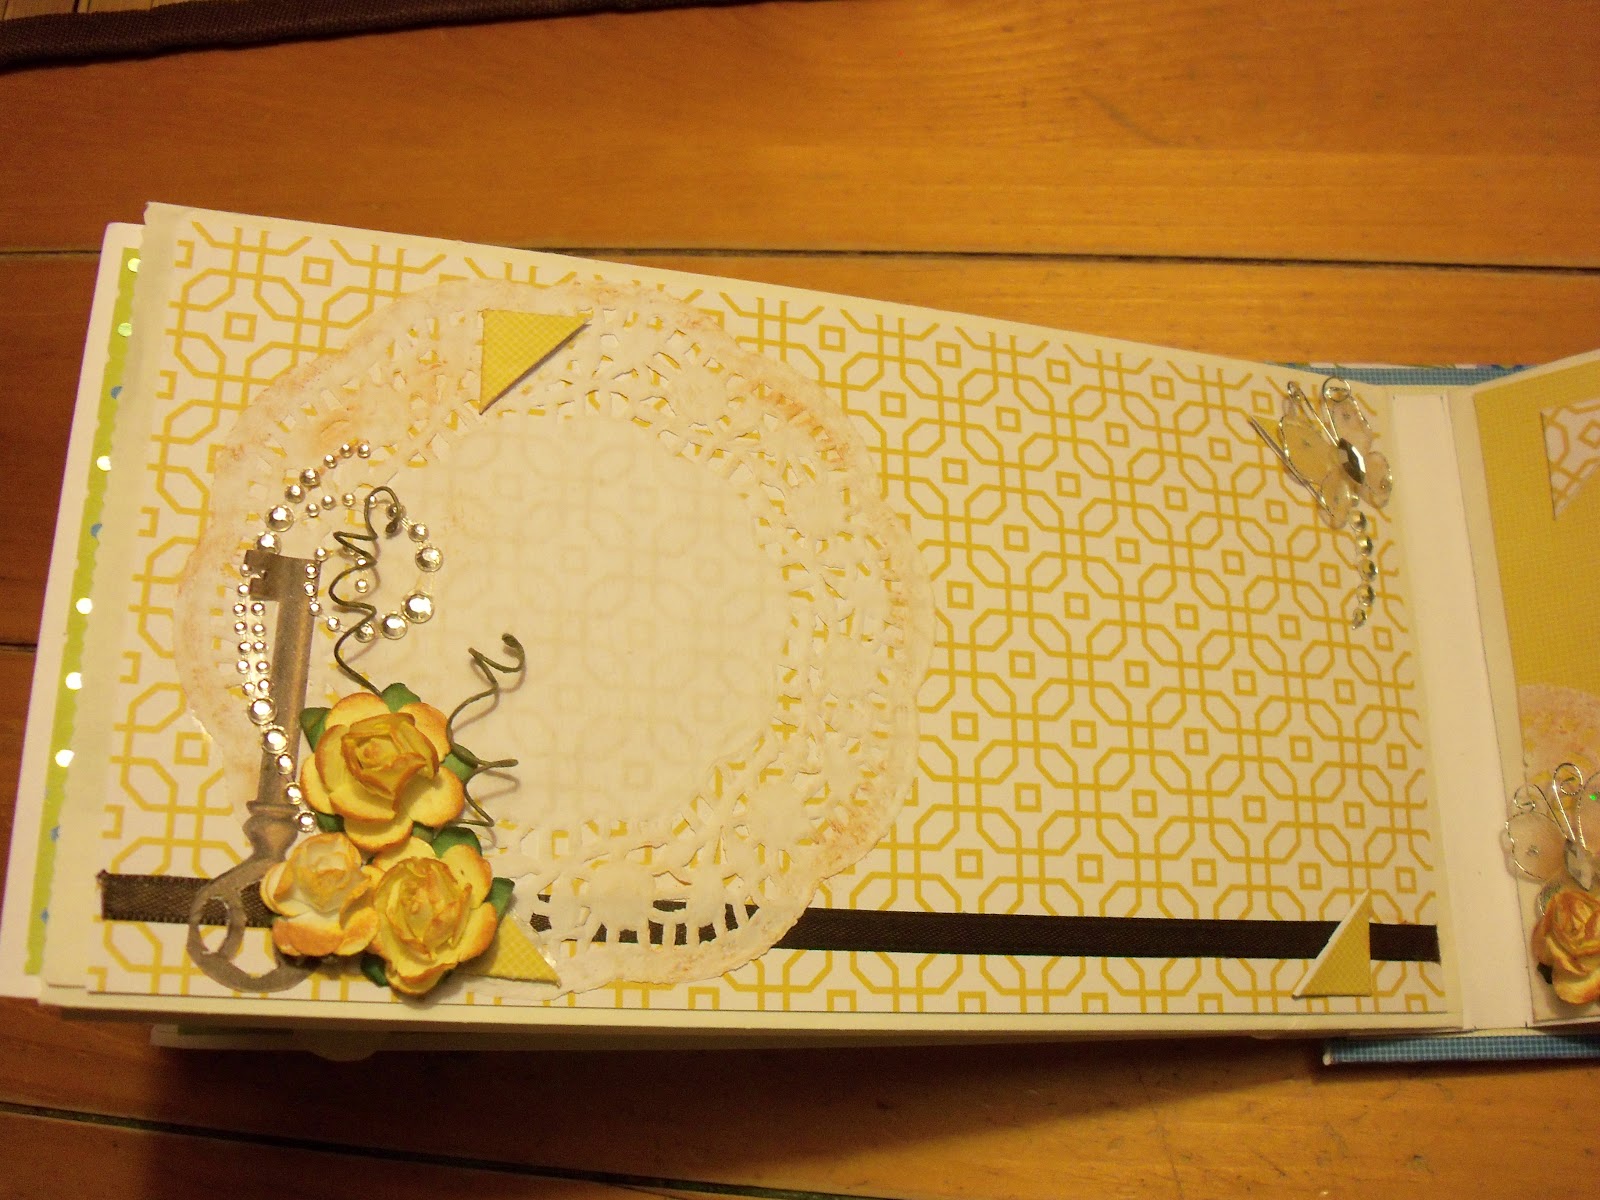
Page four and five with tag 2 and an unclose of the floral embellishment.  By far my favorite pages in this album and not just because they are yellow.  Okay maybe the yellow color had a lot to do with it.


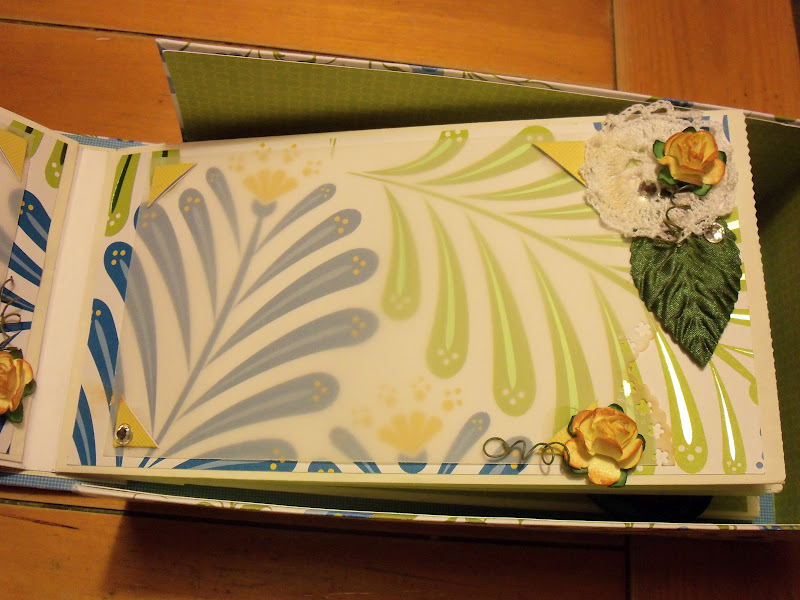
Page six and seven with tag 3.  I used velum as a matt for the photo and added photo corners.


Page eight and nine with tag. I chose to keep this one fairly simple; well simpler than the rest of the album.  I think the blues on the tags are a great masculine setting.


Page ten and eleven with tag and a few close ups.  The tags are the same on both sides throughout the album except for the


And finally the last page of the album, page twelve with tag.  The tag above and the one below are the front and back in the last paper bag.


A lot of pictures I know but I do like how it came out.  I wasn't sure about it because I normally wouldn't have used this style of paper but my recipient loves greens and blues and when I saw the paper I thought it was perfect for her.

Thank you all so much for stopping in and taking a look at what I have been up to.  I hope it inspires you to create something wonderful.

So, until next text time everybody...

Kelli

What I used..
~DCWV Green Tea 12x12 stack
~Recollections Crocheted flowers,
~White Card Stock
~Michael's Celebrate It white paper bags
~Studio G brown and tan pigment ink
~Autumn Leaves Journaling Stamps
~Martha Stewart Crocheted butterflies
~Studio G white adhesive buttons
~Recollections Paper: Keys
~Recollections Swirl bling
~Michael's Celebrate It flower leaves
~Studio G Sentiment Stamps
~Hampton Art Sentiment Stamps
~MME Stella Rose Stamp Set
~Twinery Blue twine
~Recollections fabric buttons
~Mulberry Roses
~Recollections Blue Acryllic Flower (shown on cover)
~Offray ribbon


Album-in-a-box tutorial (by Kathryn Scraps [thescrapbeach] on Ustream)
Part 1: http://www.ustream.tv/recorded/22378241
Part 2: http://www.ustream.tv/recorded/22378750
Part 3: http://www.ustream.tv/recorded/22380498
Part 4: http://www.ustream.tv/recorded/22381385