Showing posts with label Celebrate It Paper Bags. Show all posts

Sunday, April 13, 2014

Artful Mail Groupies Mini Album Swap

Hi Everybody,

Just sharing the mini album I made for swap at Artful Mail Groupies on Facebook.  Because I had to mail this off internationally and was in a bit of a rush to make the PO, I forgot to take up-close pictures but I did manage to pull together this video of the album.

To watch Directly on YouTube click here

I cut my bags in half and trimmed them down so that from one bag I have two 4.25" x 4.75" pieces.

Tags:
My large photo mats were cut at 4.25" x 4 5/8"
Designer paper was cut at 4" x 4 3/8"
Small tags cut at 2.75" x 4 5/8"
Small tag designer paper 2.75" x 4.5"

Binding:
I used a method similar to the "hidden hinge" method by Kathy Orta

Cover:
Recycled Chipboard cut at 4.75 x 5"

What I used..
~Black Celebrate It Bags
~Recollections Black Card stock
~Prima Lyric Paper Collection
~Trico Flowers and Leaves
~Recollections flowers
~Bridal Pearl Brads
~Bridal Stamens
~Studio G Pearls
~Michael's Metal Pieces
~Offray Ribbon
~Studio G Glitter Glue
~Doily
~Heart Button
~Tim Holtz Vintage Photo Distress Ink
~Michael's Crochet Flower
~7 Gypies Beaded Flower
~Skeleton Leaves
~Homemade Shimmer Mist using FolkArt Metalic Paint in Pink Chiffon

Thursday, July 18, 2013

Paper Bag Mini Album Series - Family Fortier - Practical Scrapper Project

Hi Everybody,

Today projects serves as a double duty project, which I love!!  I had wanted to make a "step down" paper bag album.  So the first job of this project is that, this is #2 of my Paper bag series albums and the second job is a design team challenge for Practical Scrappers.  The challenge was to use tags.  I chose to use my tags as photo mats in this family album.

I used a Colorbok collection for the second of my Paper bag Mini Albums.  I love the "step" (this album type may have another name but this is what I am calling it.) look and wondered how it would look as a paper bag mini album.  In this album, one page is shorter than the other pages and creates a step effect.  So here is my creation minus the pictures.


I will add more embellishments once the pics have been added, but I love the idea of using the letters as pulls for the mats.  I can't wait to fill this baby up.  I had so much fun making this and I have another idea in mind for this type of album.  Anywho that is all for today.  I know it has been quite awhile since I have posted anything butI do have a good reason for that and I will share that information in a week or two.  Just need to confirm some information before I share it.  So, there you have it.

Alright guys, I want to thank you all so much for stopping by and I will chat with you all next time.

Kelli

Friday, April 5, 2013

Collective Haul Part 1 & 2

Hi Everybody,

Today i am sharing with you a massive, collective haul purchased last Saturday.  Hubs and I started early in the morning with errands and shopping and our journey took us to places like Jo-Ann's, Michael's, and Walmart.  And then I received my order from My Favorite Things; it was a great day indeed!

Now, I filmed the video and attempted to upload it via my phone but the file was too big so I had break it down into two parts so that I could up load it.  Hence part 1 and part 2.  So here they are, I apologize about the lighting, I am working on it.  I already have some projects in mind for some of these items and i can't wait to get started on them and share them with you.

Part 1:

Part 2:

So there you have it everybody.  Thank you all so much for stopping by and visiting and I will see you all next time.

Kelli


Wednesday, January 30, 2013

The 1st Mini Album Monday Paper Bag Baby Bottle

Hi Everybody.

Welcome!!!  So my planned 1st Mini Album Monday has turned into a Mini Album Wednesday for this month.  Hubs and I recently took in a foster child and it has been a rough couple of days.  Plus, being super slammed at work led to no free time for other things.

Anywho, the mini that I have to share with you  today is one that I am truly proud of.  I have scoured the net and YouTube looking for a mini like this and I have found nothing.  If any of you know of one please let me know.  Today's Mini is a Paper Bag Baby Bottle mini Album.  The tags are shaped as baby bottle and can hold a 4x6 photo.  I am so so proud of this album!!!  I love the way it turned out and I have plans to make more.  It is so super quick and easy and is so much fun to make.

Let me show you what I did.  ** WARNING - there are LOTS of pictures!**

This is the cover of the album.  A cover photo can tuck behind the scroll.  The scroll itself came from the Theresa Collins Sophisticated Cricut Cartridge .


The spine of the album

First pages and a sample of the tags that are present throughout the album.


Each paper bag hold tags that look like this one just with different paper.

Next two pages

Accordion style fold out photo page


Next two pages: the green page is a double slider page. Tab on the top pulls out for two photos and the tab on the side pulls out for two photos.

Small pocket to hold two tags from the paper collection.

Next two pages. The only thing with the second page is that I with I had gold photo corners that had white tabs instead of black. But with the photo in this spot you can't see the black.

Next two pages with an accordion style fold out photo mat and white photo corners.


Last page and back cover of album.

Watch the Video on Youtube


I really wanted to make a baby album that looks just like a bottle and could stand and be displayed opposed to laying down.  I used a total of 6 bags and a chipboard back cover. I will post a video on the album here and on YouTube so you can see it in real time (well sort of real time).

Anywho, here it is!  The first Mini Album Monday (though it is Wednesday) project.

Thank You all so much for stopping by and I pray you enjoyed the latest creation and first mini album of the year.  I pray you all are having a great day and I will see you all in the next one.  Bye!!

What I used...
~Cricut Schoolbook Cartridge: Tags, Nipples, Pull Tabs
~Cricut Theresa Collins Sophisticated Cartridge: Flourishes
~Recollections Card Stock
~DCWV Paper Stack - The Preppy Princess
~Offray ribbon
~Skeleton leaves
~Buttons
~Lace
~Flat back pearls
~Mulberry roses
~Recollections flowers

Tuesday, June 12, 2012

Shoe Box Mini Album

Hi Everyone,

So contrary to most of my blog posts my most favorite project to create is a Mini Album.  I do love me some mini albums.  I have such a blast constructing them and then get caught up in the decorating.  Anywho, Kathryn from Life on the Scrap Beach held a Ustream class where she created an Album-in-a-box.  Here is the link to part 1: http://www.ustream.tv/recorded/22378241 (part 1-4 listed below).  I thought this was such a great idea that I had to make one.  This box is going to a co-worker who makes some amazing homemade preserves.  I hope she likes it.  It is constructed with chipboard (I used a cereal box) and paper bags (I used the Micahel's Celebrate It bags).

WARNING: There is an extreme amount of photos contained in this blog.

This is the top of box.  I used a host of Recollections products and some items in my stash.


When you remove the lid, this is the first page.  The album itself is attached to the collapsable wall on the left.  The front of tag 1 is inside the first paper bag.


Page two and three and the back of tag 1 in the first paper bag.


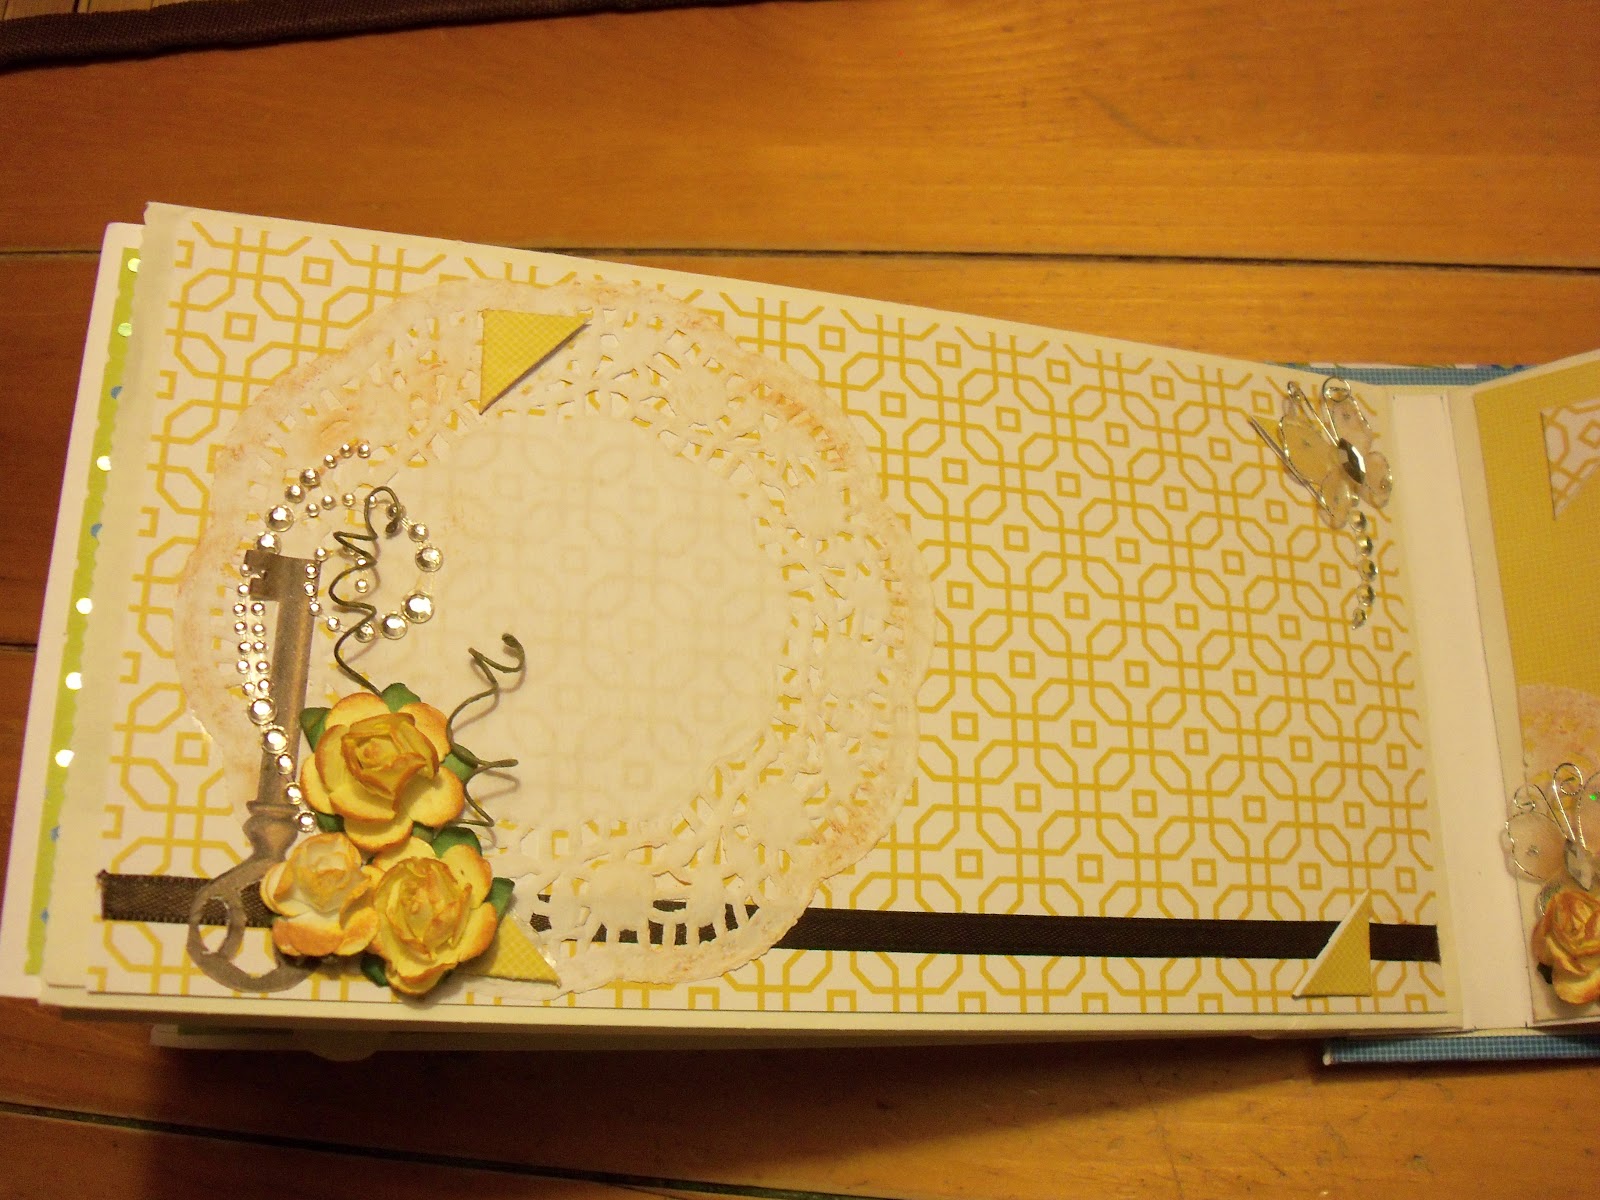
Page four and five with tag 2 and an unclose of the floral embellishment.  By far my favorite pages in this album and not just because they are yellow.  Okay maybe the yellow color had a lot to do with it.


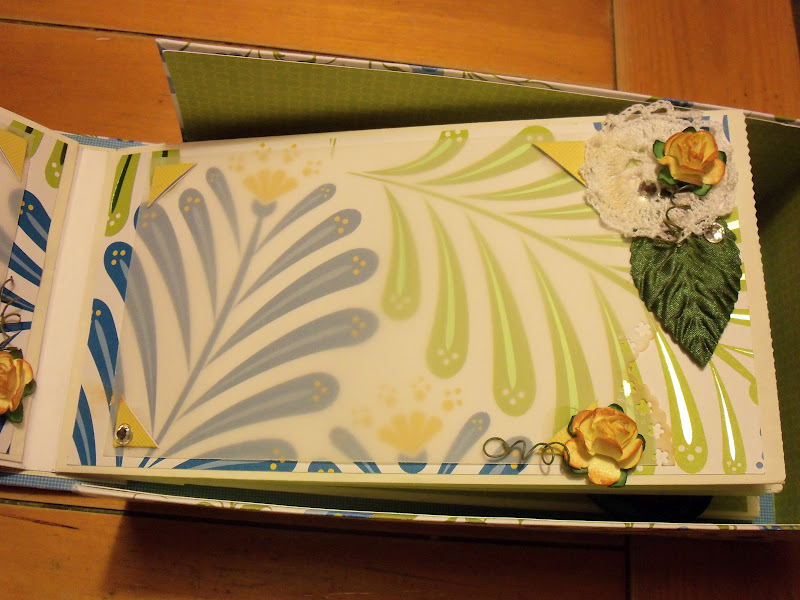
Page six and seven with tag 3.  I used velum as a matt for the photo and added photo corners.


Page eight and nine with tag. I chose to keep this one fairly simple; well simpler than the rest of the album.  I think the blues on the tags are a great masculine setting.


Page ten and eleven with tag and a few close ups.  The tags are the same on both sides throughout the album except for the


And finally the last page of the album, page twelve with tag.  The tag above and the one below are the front and back in the last paper bag.


A lot of pictures I know but I do like how it came out.  I wasn't sure about it because I normally wouldn't have used this style of paper but my recipient loves greens and blues and when I saw the paper I thought it was perfect for her.

Thank you all so much for stopping in and taking a look at what I have been up to.  I hope it inspires you to create something wonderful.

So, until next text time everybody...

Kelli

What I used..
~DCWV Green Tea 12x12 stack
~Recollections Crocheted flowers,
~White Card Stock
~Michael's Celebrate It white paper bags
~Studio G brown and tan pigment ink
~Autumn Leaves Journaling Stamps
~Martha Stewart Crocheted butterflies
~Studio G white adhesive buttons
~Recollections Paper: Keys
~Recollections Swirl bling
~Michael's Celebrate It flower leaves
~Studio G Sentiment Stamps
~Hampton Art Sentiment Stamps
~MME Stella Rose Stamp Set
~Twinery Blue twine
~Recollections fabric buttons
~Mulberry Roses
~Recollections Blue Acryllic Flower (shown on cover)
~Offray ribbon


Album-in-a-box tutorial (by Kathryn Scraps [thescrapbeach] on Ustream)
Part 1: http://www.ustream.tv/recorded/22378241
Part 2: http://www.ustream.tv/recorded/22378750
Part 3: http://www.ustream.tv/recorded/22380498
Part 4: http://www.ustream.tv/recorded/22381385